|
Gingham Background Tutorial
Open a new image size 10 X 10, white. Set your colors to these:
Foreground = RGB 247, 143, 167
Background = RGB 252, 214, 223
Use your zoom tool  to make it at least 4 times larger so you can see what you're working on. (All my images will appear larger because I captured them while in zoom mode.) Use your square selection tool to draw a square box size 5 at the coordinates of 0, 0 and flood fill with your foreground color like this: to make it at least 4 times larger so you can see what you're working on. (All my images will appear larger because I captured them while in zoom mode.) Use your square selection tool to draw a square box size 5 at the coordinates of 0, 0 and flood fill with your foreground color like this:

Now make your second square box size 5 at the coordinates of 5, 0 and flood fill with your background color. Your image should look like this:
Make your third square box size 5 at the coordinates of 0, 5. There's no need to fill the other box in as I'm keeping it white so your image should now look like this:
Now you can use your zoom tool  to reduce the image back to normal and you are done! Wasn't that easy! to reduce the image back to normal and you are done! Wasn't that easy!
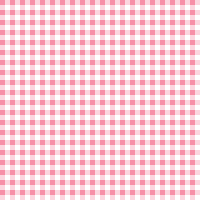
Now looks are very deceiving. You're probably thinking it's way too small to do much. So let's test it out. Open up a new image size 200 X 200 and flood fill it with your new pattern. It should look like this:

Have fun and experiment a little. You can create all different gingham backgrounds by using different colors.

Home?| Graphics?| Dingbats?| Tutorials?| Misc.?| Contact
Graphics & Content ? 1998 - 2000 Web Elegance.
Unauthorized use is strictly prohibited.
|